
#6989 Mega Core Magnetizer
The previous build on this blog was a small spacecraft, a good start, not too time-consuming for me! This time, while staying in the M-Tron series, we’re visiting the opposite end of the spectrum with the second largest set I had as a kid. The #6989 Mega Core Magnetizer is built using 503 pieces and, just like the set in the last post, it was released in 1990.
I have a vague memory of buying this set for myself, but I’m not sure. In a photograph from late ’92, those six big wheels can be seen in the background lying on a shelf, so I must have gotten the set well before that, to have had the time to finish playing and dismantle it. In this period I had a small income delivering the monthly municipality newsletter, so it would have been possible for me to save up for it, although it must have been quite expensive!
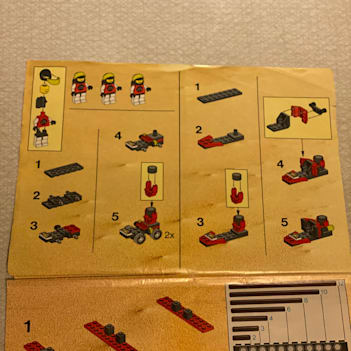
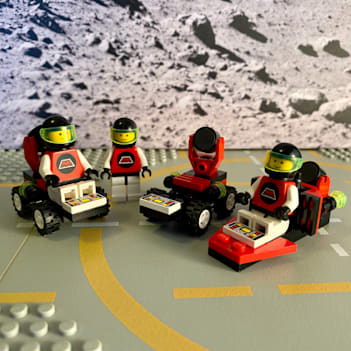
The instructions start off with the tree identical minifigures, as well as two 4-wheeled and one flying mini-vehicle—each with a magnet at the back.
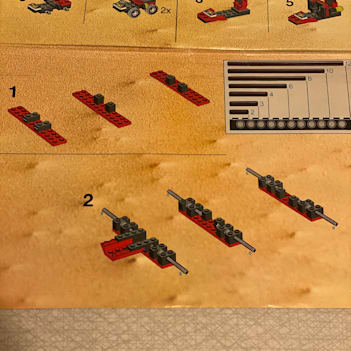
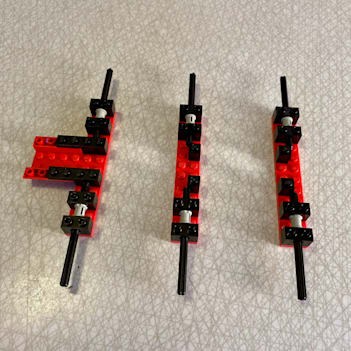
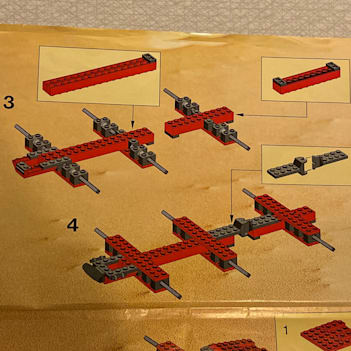
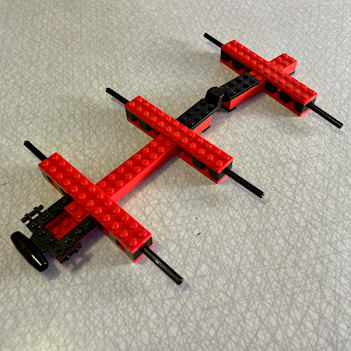
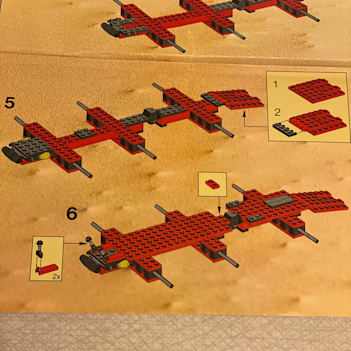
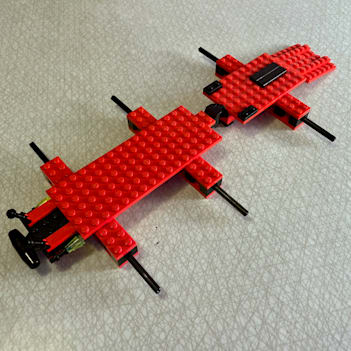
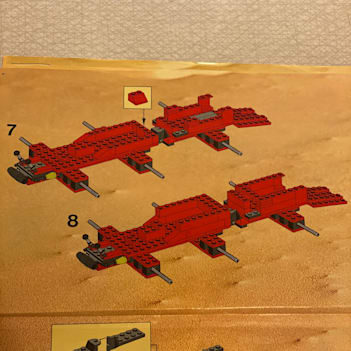
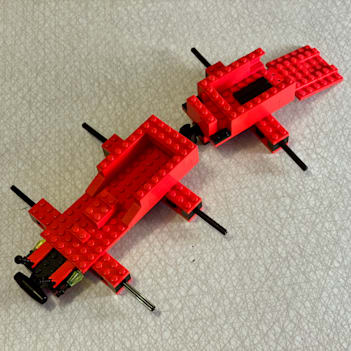
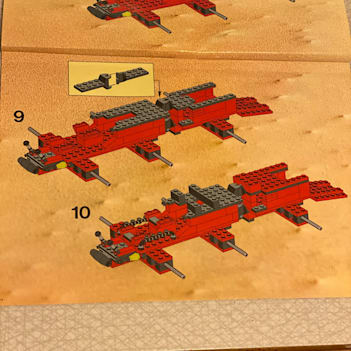

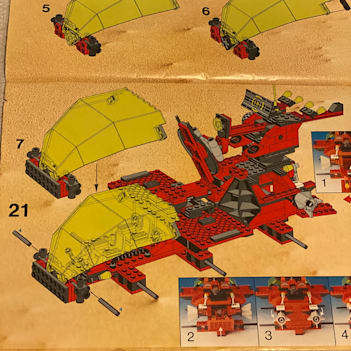
The front section of the main vehicle has two wheel-axes, and the back section has one, with the sections connected with a hinge plate—the basis for the turning mechanism. The front section has three seats in line for the minifigures, each positioned slightly above the one before it so all the minifigs get a good view. The frontmost seat has big levers on each side, presumably for steering.
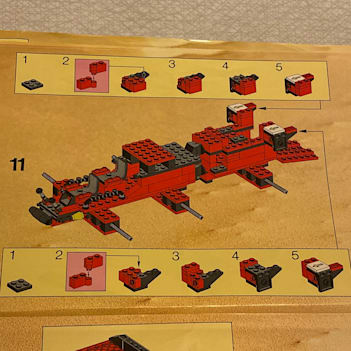

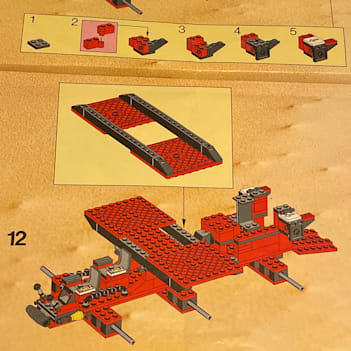
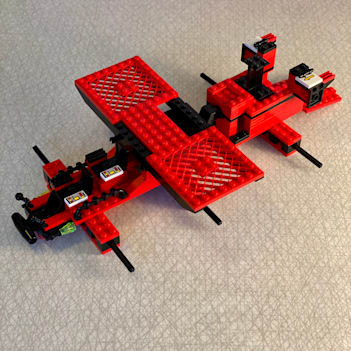
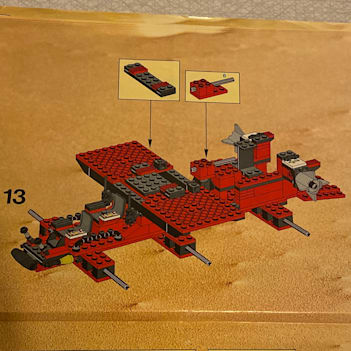
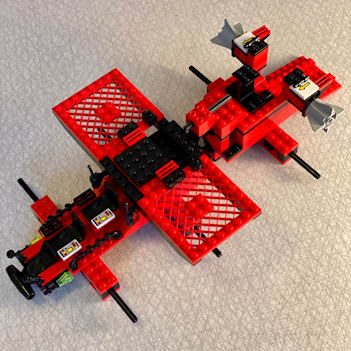
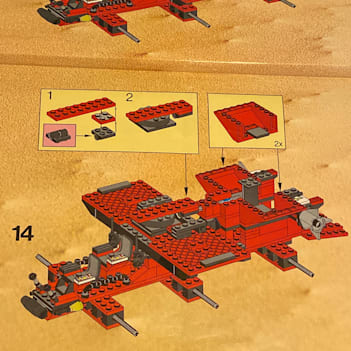
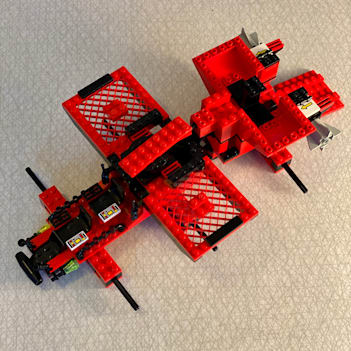
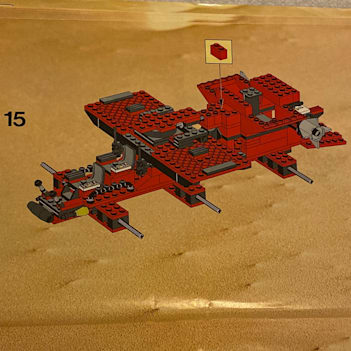
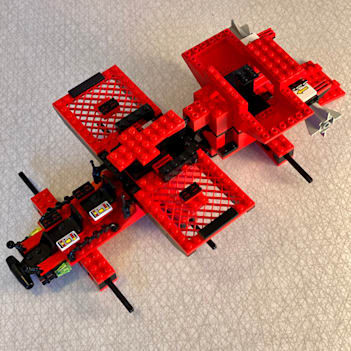
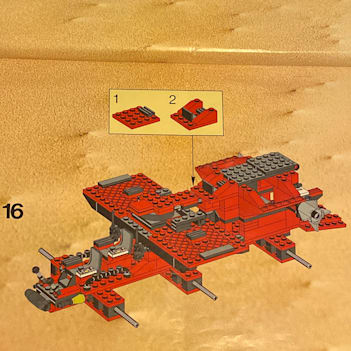
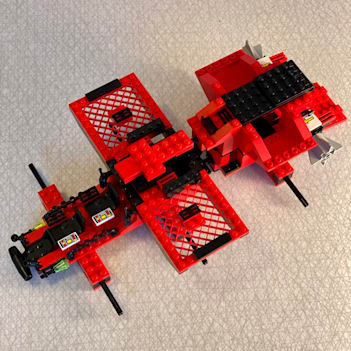
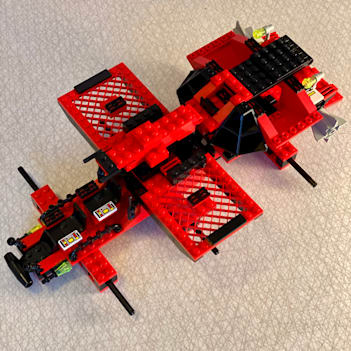
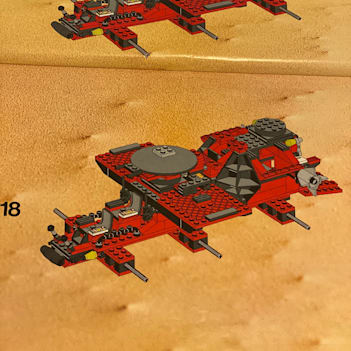
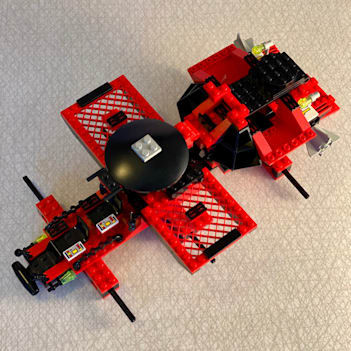
Two big lattice plate platforms are placed on either side of the front section, for holding cargo containers. The back section has an open-top compartment on each side for the wheeled mini-vehicles, and in the very back is a hatch behind which the flying mini-vehicle can be stored.
The front and back sections are connected with a second hinge, making it very sturdy, and on top of and just in front, a big dish is placed on a turntable for turning the hinges. The turning motion from the dish is propagated to the back section using a Technic axle, hidden below. The dish being offset from the hinges makes for a very direct and satisfying steering experience!


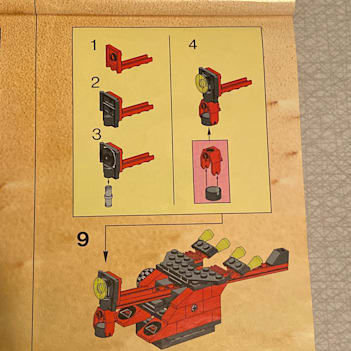
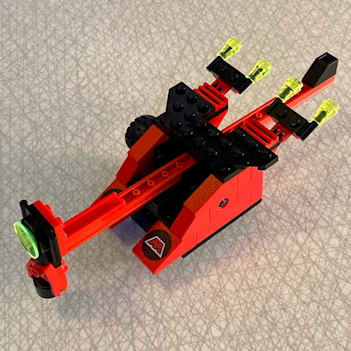
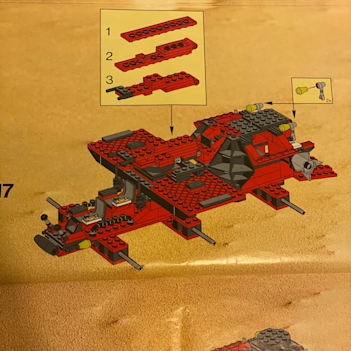
The crane that will be placed on top of the back section has an upside-down Technic rack arm running in a slightly titled winder, with a wheel for extending the arm. The end of the crane arm has a magnet for picking up the vehicles and containers that also have magnets. Of course the crane is decorated with some trans-neon pieces.
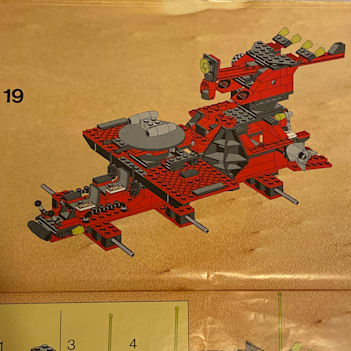
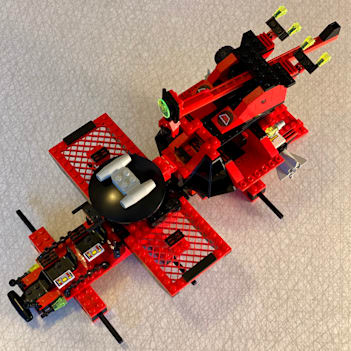
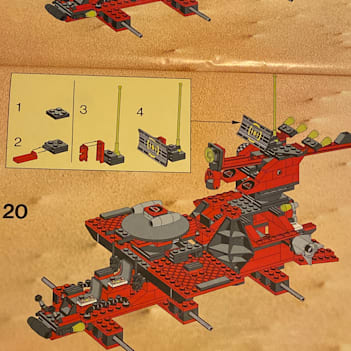
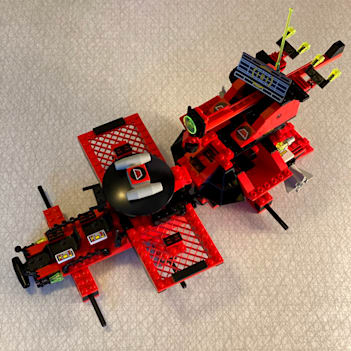
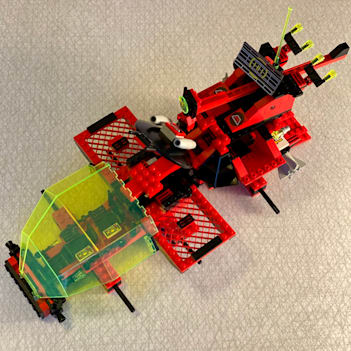
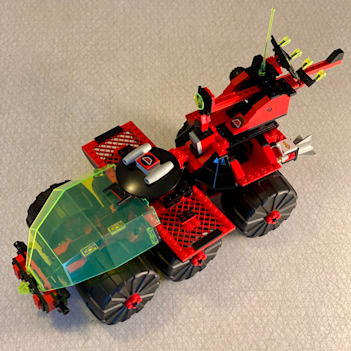
On top of the crane is a rotating radar and and a long thin trans-neon antenna making the model 25 centimeters tall—it doesn't fit in my cabinet unless this top part is removed!
The enormous canopy is so prominent that the set doesn’t need that many other trans-neon green pieces to blend in among other M-Tron sets! Apart from the trans-neon pieces on the crane, there are just a couple of cones on the locking mechanism for the hatch in the back, and a single round brick with fins at the front of the canopy hinges.
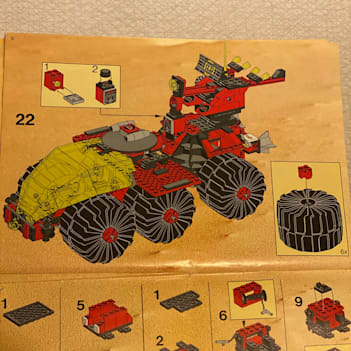
Now the six big black wheels are attached to the wheel axes, and a small container with a magnet on top has its place just in front of the crane mount.


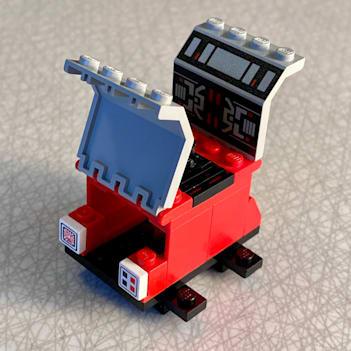
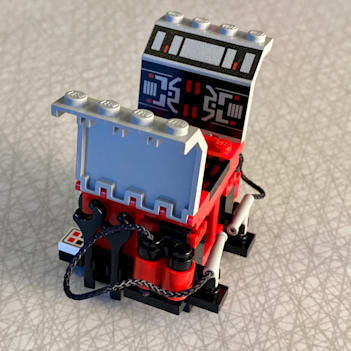
Containers with upwards opening hinge doors in both ends are placed on the platforms on each side of the front-section. One of them is a generic storage container with some control panels in one end. The other one is for tools, and what looks like fire-fighting equipment. One side of it has a string reel with a retractable long hose and nozzle, and behind the doors in both ends are portable tubes, each with a short hose and nozzle that the minifigs can wear on their backs.
Those jet-pack neckwear pieces could have been super useful for other minifig-related builds, but as the string and nozzle are attached through them with a knot, I never used those pieces for anything else. A shame really!
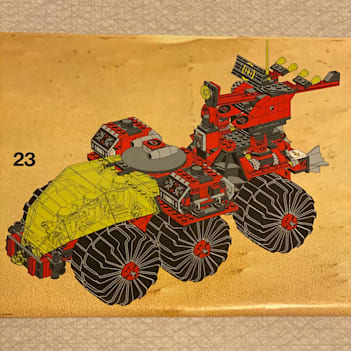
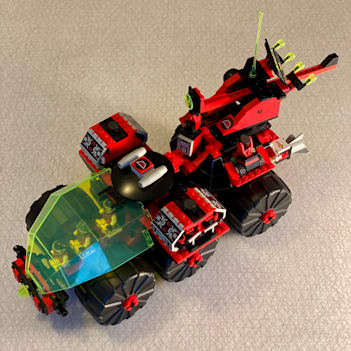
The crane is mounted on hinge plates below a turntable so it can rotate 360°, but it only reaches down to pick up cargo in the area behind the vehicle. The crane doesn’t reach exactly all the way to the mini-vehicles in their compartments, but the magnets are strong enough to overcome the last distance and snap in place, so it’s not a practical problem. I’ve been thinking an alternative design could be possible with hinge plates on top of the turntable, and possibly hinges both for tipping the crane forwards and backwards.

The crane mount aside, this is an excellent set that looks terrific on display as well as providing great playability. Of course it doesn’t provide much swooshability, but for ground vehicles I think an enjoyable steering mechanism is the equivalent, and the Mega Core Magnetizer certainly has it!
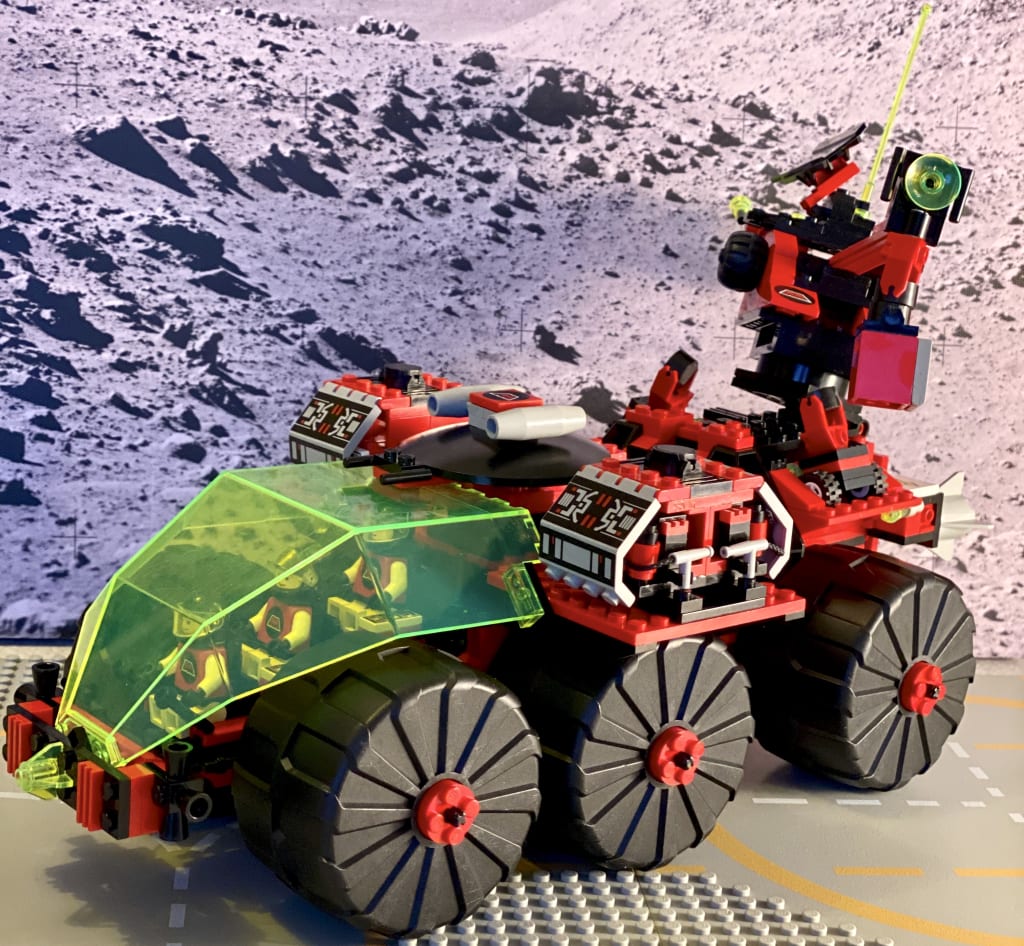
Followers of this blog may have rightfully noticed that quite some time has passed since the last build. I’ve partly held back because I wasn’t happy with my photo setup. Compared to the last build of a small M-Tron spaceship, it was so much harder getting good pictures of a large set like this one! Realising I won’t be able to improve that situation right now, I’ve decided to publish this post with the pictures I have.
The next couple of builds are also going to be space sets, but in another sub-theme, and I’ll try to set up a better background so I get a little more freedom in choosing angles!